
On paper,
A smart thermostat represents a great investment.
, a method to achieve unexpected savings while doing so
easier management of home heating and cooling
more than ever with the help of AI and remote sensors. In reality, a common concern pops up — can you handle the installation yourself or should you opt for professional assistance?
Luckily, our Viral Buzz News experts have dedicated many years to installing thermostats and guiding others through the process. Although it’s somewhat more complex than handling wires,
a video doorbell
, many homeowners can still manage it as a do-it-yourself project. All you’ll require is a screwdriver, your phone, and some free time… along with a guide like ours.
Once I contacted the nonprofit
Energy Trust of Oregon
They provided some initial advice on getting started: “Ensure that the model is compatible with your heating and cooling system,” their representative stated. “This is crucial, particularly if you own a multi-stage system or one where you can tweak the airflow levels in your house using options such as low, medium, and high.”
As soon as you’re set, we can provide all the information about how this process unfolds along with the specifics of the setup. Below are the steps involved and alternatives for those who prefer not to handle it personally.
Read more
:
Top Smart Thermostats Evaluated and Rated in 2025
Verify compatibility prior to purchasing a smart thermostat.
Besides verifying whether you possess a multistage HVAC system, several additional crucial compatibility verifications should be conducted prior to clicking the purchase button for your new thermostat. Ensure that the installation spot for smart thermostats remains unchanged.
as your old thermostat
And the electrical work includes specifications that may differ somewhat from house to house. Be sure to notice:
-
Regardless of whether the thermostat requires a C-wire
The C or common wire (typically well-marked) is a low-voltage cable capable of supplying power to a thermostat. Certain thermostats necessitate the presence of a C-wire for operation. In contrast, others, such as the
Nest Learning Thermostat
, a C-Wire isn’t required. Check whether your thermostat requires one and determine if your house already includes such a wire. In some cases, installing an adapter might be possible.
Ecobee models
even offer a kit for this) to overcome this problem but that’s a higher level of electrical work. -
Regardless of whether the thermostat requires connection to high-voltage wires
Some thermostats must manage high-voltage devices like substantial electrical heaters. However, most modern smart thermostats aren’t equipped to deal with such voltages. Should you own sizable electric baseboard heaters or an electric furnace, your residence might not support a smart thermostat installation. High-voltage models often display ratings of 120 volts or more, or feature L1/L2 connection terminals. -
Regardless of whether the thermostat has disconnected wires
Some intelligent thermostats, such as those made by Nest, do not accommodate stranded wire connections, which are generally uncommon.
Companies do offer
online compatibility checks
To assist you through this procedure, you will likely need to disconnect your current thermostat and examine the wiring connections to be sure—that’s a beneficial habit to adopt.
Open up your new thermostat and remove your previous one.
Inspect the components of your new thermostat. It typically includes a mounting plate designed for attachment to the wall with screws, along with the thermostat unit itself, which connects to this mounting plate (additional items may differ). Be particularly attentive to the connection points on the mounting plate; these will be crucial when attaching the wires.
Turn off the electricity supply to the thermostat from your circuit breaker panel. Typically, breakers related to heating, cooling, and HVAC systems will be marked accordingly and should cover your thermostat; switch these off entirely. Should your setup have manual adjustment settings for temperature, change them to prompt the system into activation, then observe for several minutes to ensure it remains inactive (which it shouldn’t activate under this condition). It’s crucial to verify that each connection within the thermostat lacks power prior to proceeding further.
If you haven’t already disconnected your old thermostat from the wall, detach the cover gently. Leave the wires connected to contacts — do not remove them at this time!
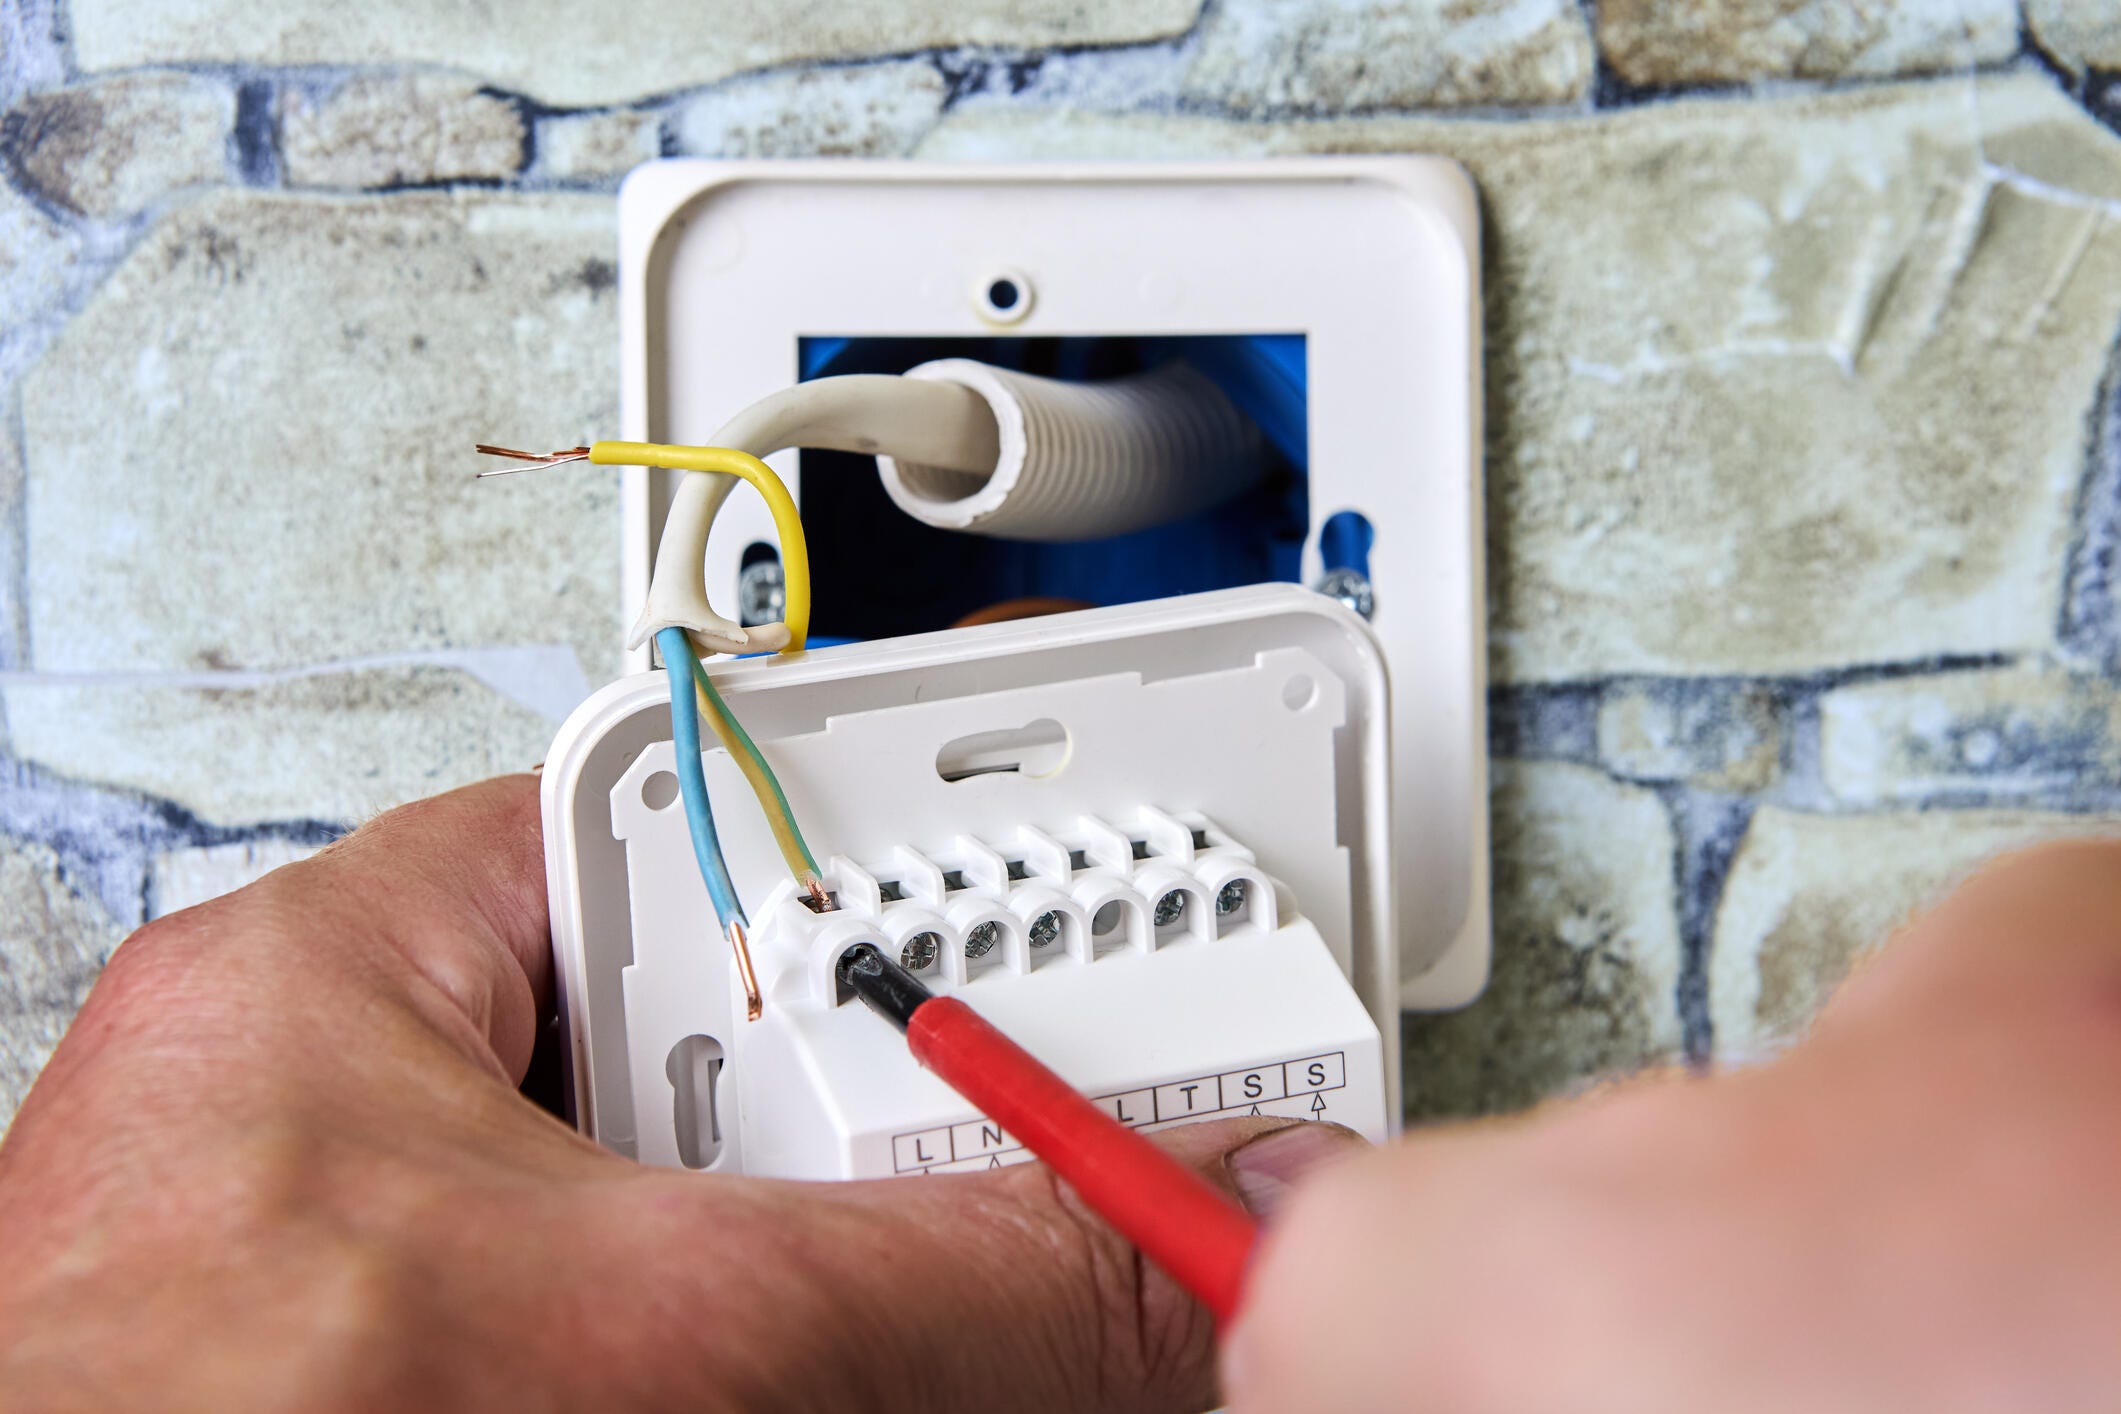
Take pictures and record details of your wiring prior to unplugging.
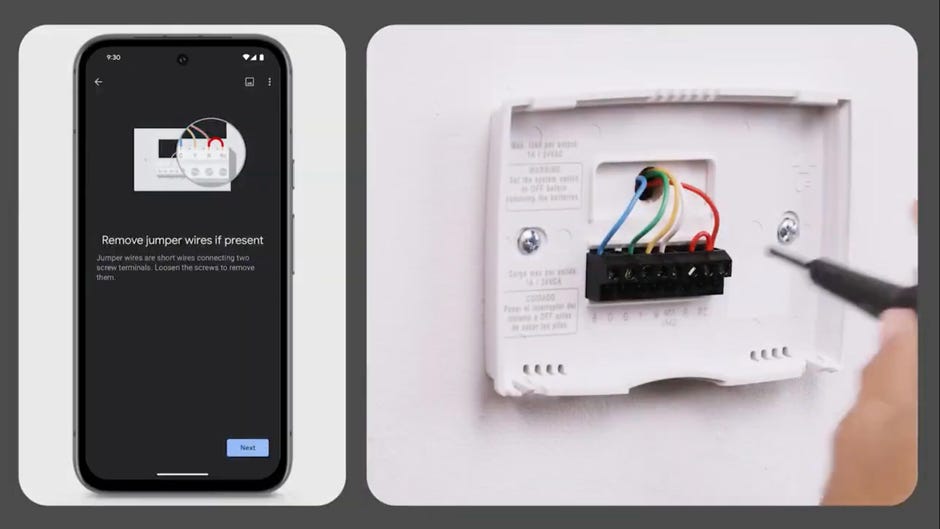
Use your phone or get a friend to help and take a photo of the wiring in the old thermostat’s contacts, with names like Y1, G, AQ-/+, W1, and so on. Make sure the photo has a clear view of the contacts and their labels (you can take more than one).
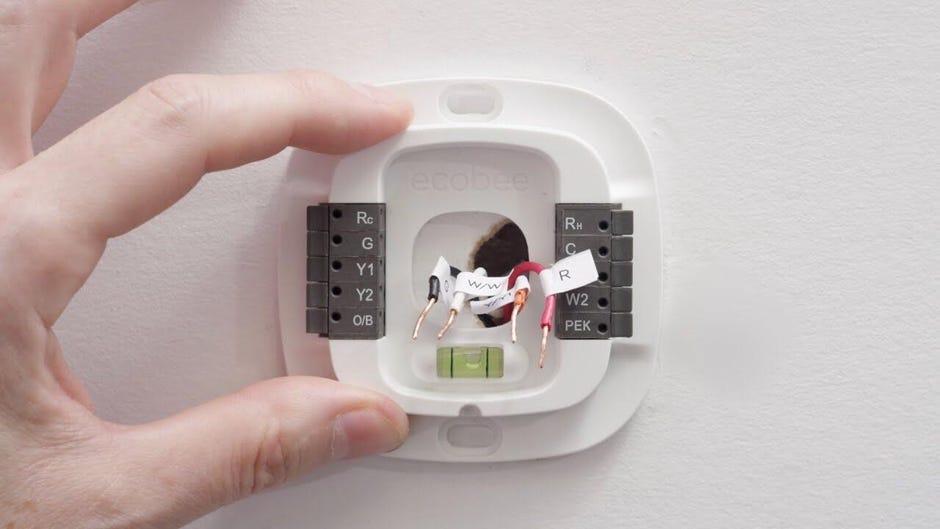
You can individually mark wires using pieces of tape, though this method is quite labor-intensive and typically suggested when dealing with wires of identical colors or if you’re colorblind and find tagging the wires preferable. The good news is that numerous smart thermostat packages include small adhesive stickers designed specifically for this task.
Unscrew and remove the old thermostat and screw in the new mounting plate
Disconnect the wires (some use screw contacts, others use tabs), then unscrew the old mounting plate entirely (if necessary), and remove the old thermostat entirely. Guide all the wires through the central hole of the new thermostat mounting place, and screw the plate in using its screws. Use a screwdriver, not a drill. At this point, you may want to bring out a lever and make sure the thermostat is level before you screw it all the way in.
You may have to drill new holes in the wall but smart thermostat companies design their mounting to fit in standard thermostat gaps so this isn’t often a problem. If you do need to drill holes, use a stud finder with wire-sensing technology to search the gap, so you don’t drill into any of the thermostat’s wires.
reconnect the wires to their respective terminals and install the thermostat
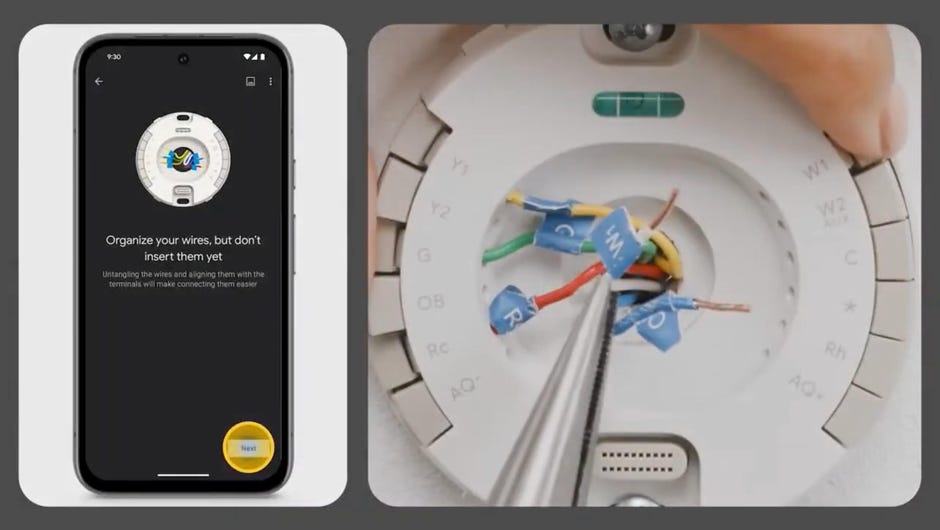
Once the mounting plate is secured with screws, you can proceed to attach the wires to their respective terminals. Refer to the photographs you snapped earlier or check the markings you made previously to ensure each colored wire goes to the correct terminal and is properly attached. If the wiring appears messy, take some time to untangle it slightly prior to connection. Occasionally, the wires may be marked differently from the new contact points.
Below is an explanation of what various wire names signify.
and another
helpful reference for placing the slot wires correctly when the labels aren’t clear
.
Typically, your wires do not necessitate stripping or additional upkeep. However, should they be in bad shape (such as cracked or severely split), you might consider trimming and stripping them using a pair of pliers prior to proceeding.
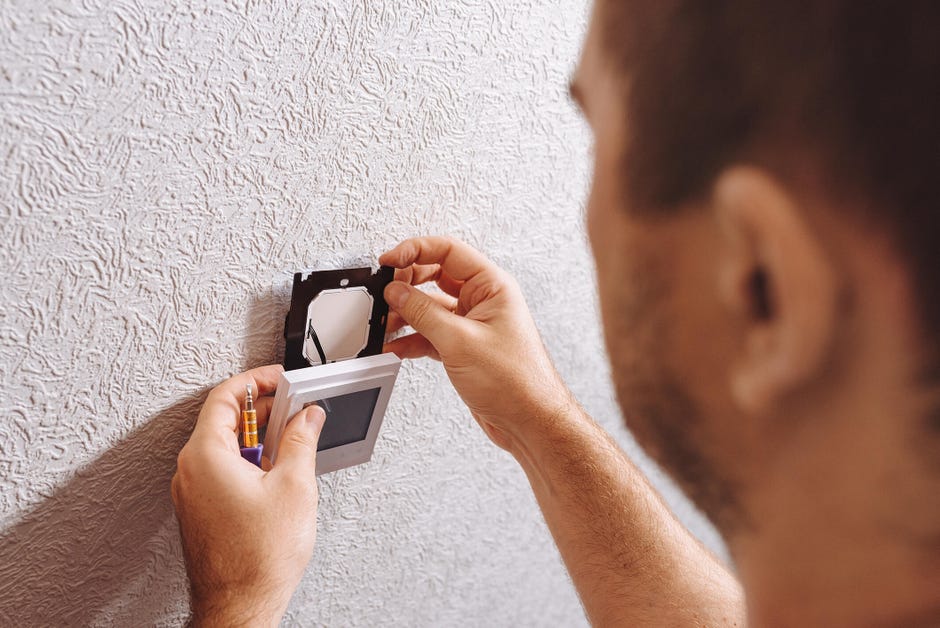
Once all the wires are at the correct connection points, attach the thermostat face to the mounting plate. Ensure that the thermostat clicks into position, indicating it is securely fastened on every side to the plate.
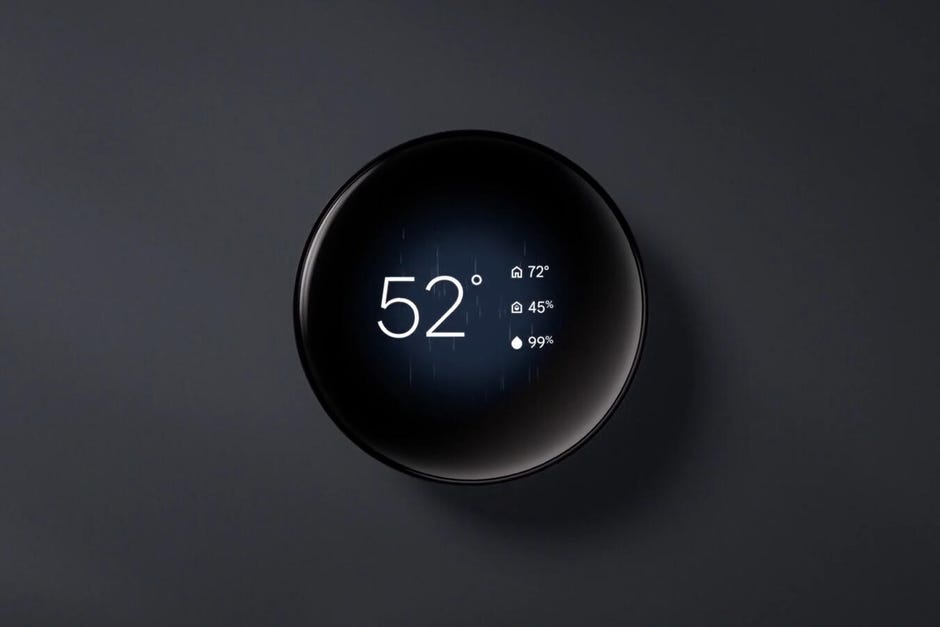
Link the new thermostat to Wi-Fi to begin the setup process.
Once all the strenuous tasks are completed, restore electricity to your system and activate the thermostat either by touching or twisting it until it turns on. Proceed to your application and follow the remaining installation steps, entering your Wi-Fi password as prompted. The thermostat may also require several firmware updates during this process.
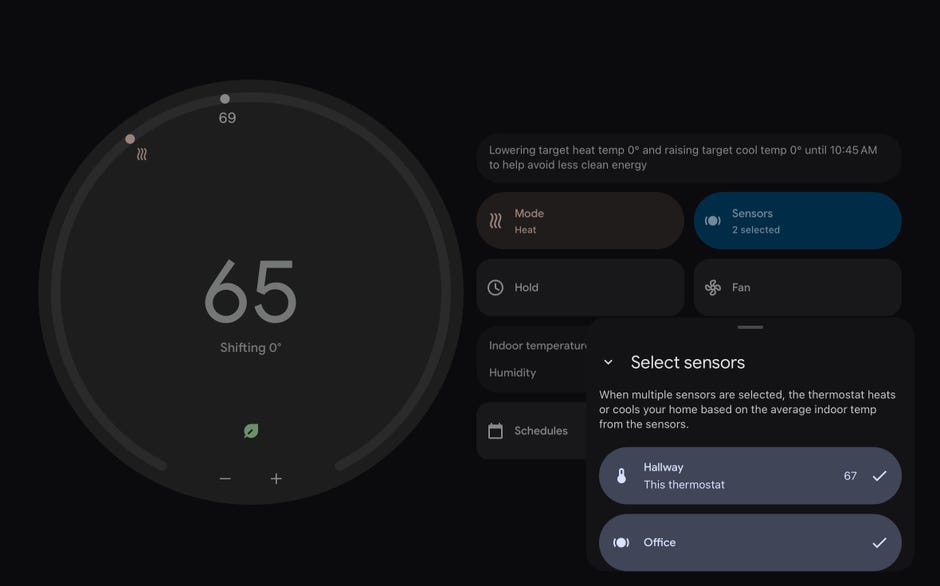
Now you’re set to begin investigating the various functions of your thermostat, establishing new routines, and selecting preferences to enable it to adapt to your behaviors and commence helping you save funds.
Important note
The new thermostat could have a different dimension compared to the old one, potentially leaving noticeable spots on the unpainted or aged walls once installed. Typically, these markings can be addressed by applying some matching house paint or by utilizing a thermostat trim kit that complements your wall nicely.
What should I do if I don’t want to install the thermostat myself?
You don’t have to —
smart thermostats make it very simple
to connect with a local electrician at the time of purchase and arrange an installation date, all at once. It can cost up to $200 on average, depending largely on your location.
If you want to save, look around for deals on a professional installation. Your local electricians may offer these deals in certain seasons. I’ve also seen some brands, like Nest, offer a free installation with the purchase of a new model.
Best Home Security Cameras of 2025:
Check out Viral Buzz News
To learn more, head over to our articles about the
optimal smart thermostat configurations for spring
,
ways to conserve with smart home technology
and
How much money can home security systems save you every month?
.